Wednesday, November 17, 2010

Cinderella Story

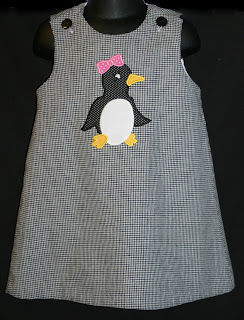
Transform that plain jumper into something Christmas portrait worthy in 30 minutes!


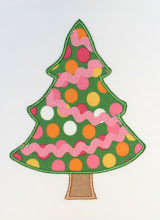
Applique your simple design, this Christmas tree takes 11 minutes to stitch out.


Add ric rac, ribbon ric rac, pom pom trim, ribbon, etc... measure up from the bottom of the dress however far you want your trim to be (I did 2 1/2" this time) and mark with a water-soluable pen. Start sewing just before the side seam with the front of the dress in the front of the needle and the back behind the needle (notice how the trim begins before the side seam-this will allow them to meet correctly when we come back around).
As you come around the dress, cut your trim about 1/2" longer than the length it will need to be to meet the side seam. Fray block your ends. Turn the loose end under and match with the side seam. This will be overlapping the trim where we began and hiding our other end.

Finish stitching to the end and backstep to secure. Enjoy!



Thursday, November 11, 2010

Ric Rac Design

I have some new ric rac designs and wanted to post some pictures of how to do them.

1) Let the first straight stitch go to mark where the ric rac needs to be placed.
2) Lay the ric rac over the stitched line making sure none of the stitching line is visible in the valleys of the ric rac.

3) Hold the ric rac with you fingers or tape with transparent tape to secure while the second running stitch attaches the ric rac.
4) Trim the ends just like when appliqueing fabirc, remove any tape, and fray block the ends of the ric rac.

5) Complete the rest of the steps and enjoy!


Thursday, October 14, 2010

The dresses I mentioned earlier...


Christmas Designs

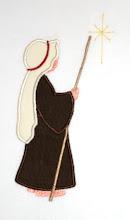
I have been working on some designs for Christmas,and here they are...


I did the Creche and the Tree on a-line dresses from J. Lisandra. I have been really please with their quality. I love to sew these myself, but I can't keep up! These are a great alternative!

Saturday, October 9, 2010

Instructions for Ribbon Applique Designs


When you get to this step, you need to place your ribbon on the placement lines and hold with your finger, a pin, or tape while it it tacked down.


The machine will tack each ribbon individually.


Trim ribbon ends so that they do not show behind your fabric.


Be careful when trimming the applique fabric that is on top of the ribbon so that you do not accidently cut the ribbon.

Enjoy your unique applique design! Find others at www.appliquechick.com!


Monday, September 27, 2010

Released Today

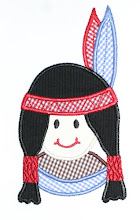
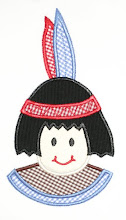
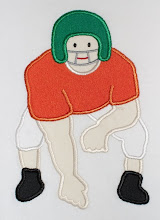
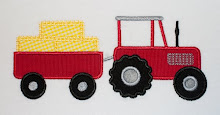
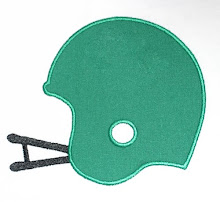
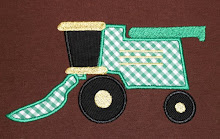
My boys have been after me to digitize some designs they would like...so here they are.


Visit http://www.appliquechick.com/ to purchase and have your designs instantly!
Wednesday, September 22, 2010

New Designs!

Three new fall designs are on the website!

Monday, September 20, 2010

Centering T-shirts

Several people have had questions about centering/hooping t-shirts and other items for ebmroidery. I know there are lots of different methods, but I wanted to share with you how I do it. This is a quick, no-measure method that gets your designs where you want them every time!

First, hoop your stabilizer (I usually use two sheets).


Then, turn your tee inside out with the front facing down.


Fold your shirt in half, matching side seams, under arm seams and hem.


Lay your folded shirt on top of your hooped stabilizer with the part that attaches to the machine at the top (for landscape oriented designs like the example I am doing) or left (for portrait oriented designs).


Match the center fold line up with the notches on your hoop.


Spray the right, exposed side of the stabilizer with temporary spray adhesive (like 505) and lay out that side of the shirt.
Next, lift up the left side of the shirt, and spray with temporary adhesive.


Lay that side back out. Pin around the perimeter of the hoop to secure the shirt. Pin excess shirt out of the way. The bulk of the rest of the shirt is either on the left, over the arm of the machine, or at the top. Now you can embroider without having to worry about the other parts of the shirt getting caught by the needle. And no hoop burn from hooping the knit.


Be sure to check out
http://www.appliquechick.com/ for designs! We are adding new ones every week!

Wednesday, September 15, 2010

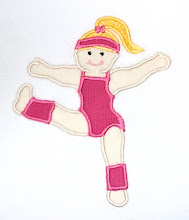
Cheerleader Design


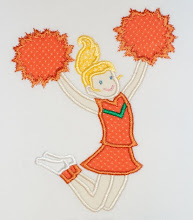
I got the cheerleader stitched out last night and converted and uploaded this morning. (In plenty of time for Friday night's game--usually I am unhooping things for my children as we are walking out the door!)

Tuesday, September 14, 2010

New Designs


We have added a few new designs--more to come! (I wish I had more time to test them!)


Monday, September 13, 2010

Grand Opening!

Our website is officially open for business! We offer designs in 8 formats and 3 sizes. If you have a suggestion for a design, feel free to e-mail us!